
We're going to start things off with a before and after shot because I feel like this is the type of post I've seriously neglected in the past. And I think this is a parlor trick that will interest both photographers and innocent bystanders alike.
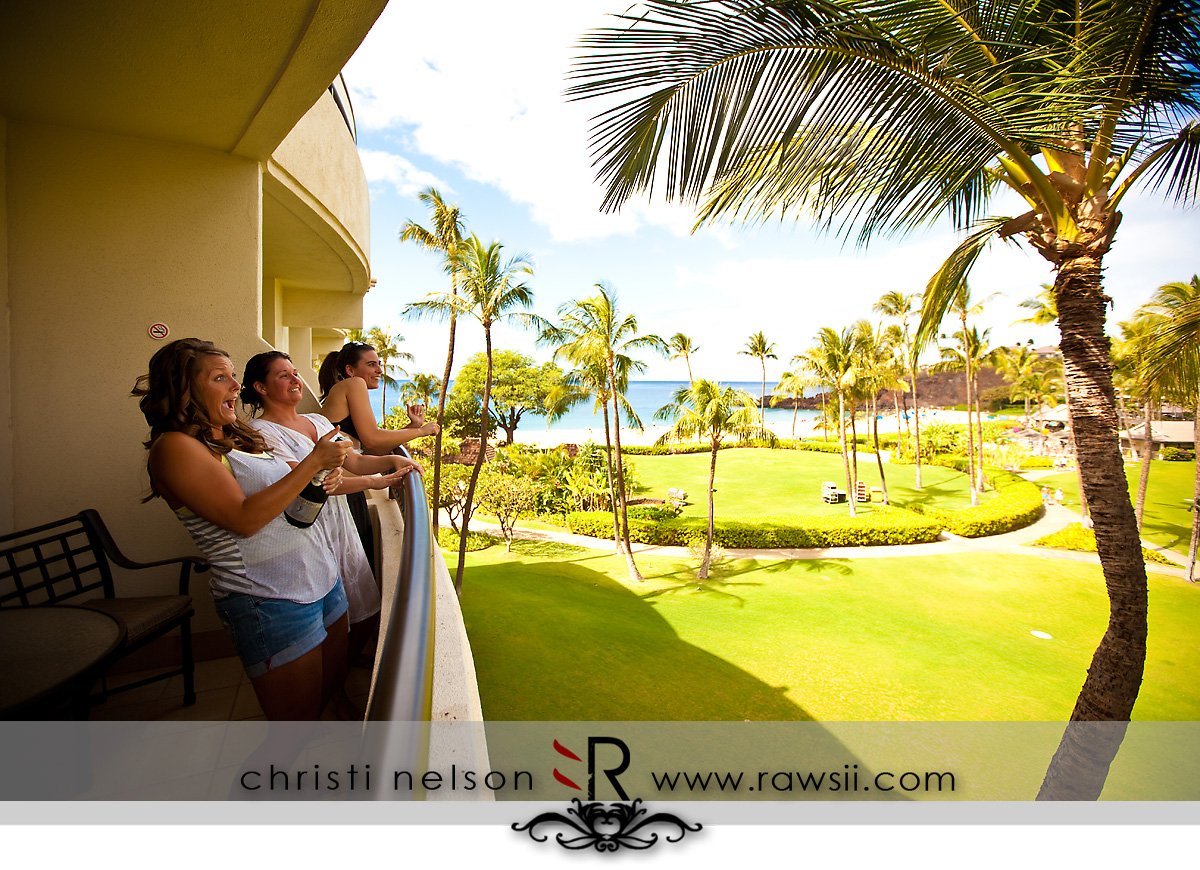
Last month I was in Hawaii for Jon and Katye's wedding (I'll be blogging a lot more about that later) and of course, everywhere we went, the scenery was incredible! When you're photographing a destination wedding, that location tends to become the "theme" and it's important to include that in as many of the pictures as possible. You want to bring home that feeling of awe and excitement with you to relive over and over. So for this picture, I found it absolutely necessary to include the ocean and the palm trees in the picture. It just wasn't going to be an epic moment without it! But if you're a photographer, you know the lighting nightmare I have here. They're in half shade while the palm trees and ocean were in full blazing sun. The camera can't get a good exposure on both...you're going to lose one or the other. And since they were at the edge of a balcony three stories up, there was no way to get a flash out in front of them. And I CERTAINLY wasn't going to use on-camera flash (don't get me STARTED, don't EVEN get me STARTED!! haha). Some might wonder if I could have bounced some flash off of the balcony above but it didn't stick out far enough to light all the girls and I didn't want to curtail the moment by directing them to easily lit locations. Also, the direction of the light would have still given it an unnatural look and I loved how the natural light was looking.
So what did I do? I went halvsies. I under exposed the girls a little and over exposed the sky, the palm trees, and the ocean. And it looks AWFUL, doesn't it? This is an example of one of the FEW pictures I'm totally embarrassed to show people on the back of my camera. I mean, EVERY picture gets some special treatment in Lightroom and some sharpening in Photoshop, but usually the effect is still completely recognizable so I show many of them to my clients as I go. But this is one I would hide because I don't have time to explain my vision for the end result and how much different it will look...and why!
Believe it or not, this is the same picture and all I did was use Lightroom to increase the exposure on one half of the image and decrease the exposure on the other half using the brush tool. If I had shot in jpg, there would be no pulling those clouds and blue sky back out of this picture. But in RAW, there's so much more information still there. It's really incredible. Shooting in RAW isn't something you should use as a failsafe to catch you if you screw up the exposure...it's a means of expanding the latitude of your pictures.
Now, does this mean that the next time you try taking that picture of your niece in the shade of a tree and the background is white that all you need to do is turn your camera to RAW and you can come home and make it better? NO. That will look horrific and fake....don't do it. The background and the subject should be lit SIMILARLY, not entirely different. Please use this trick responsibly! :)

I hope this has been enlightening (pun intended). Enjoy discovering RAW!

